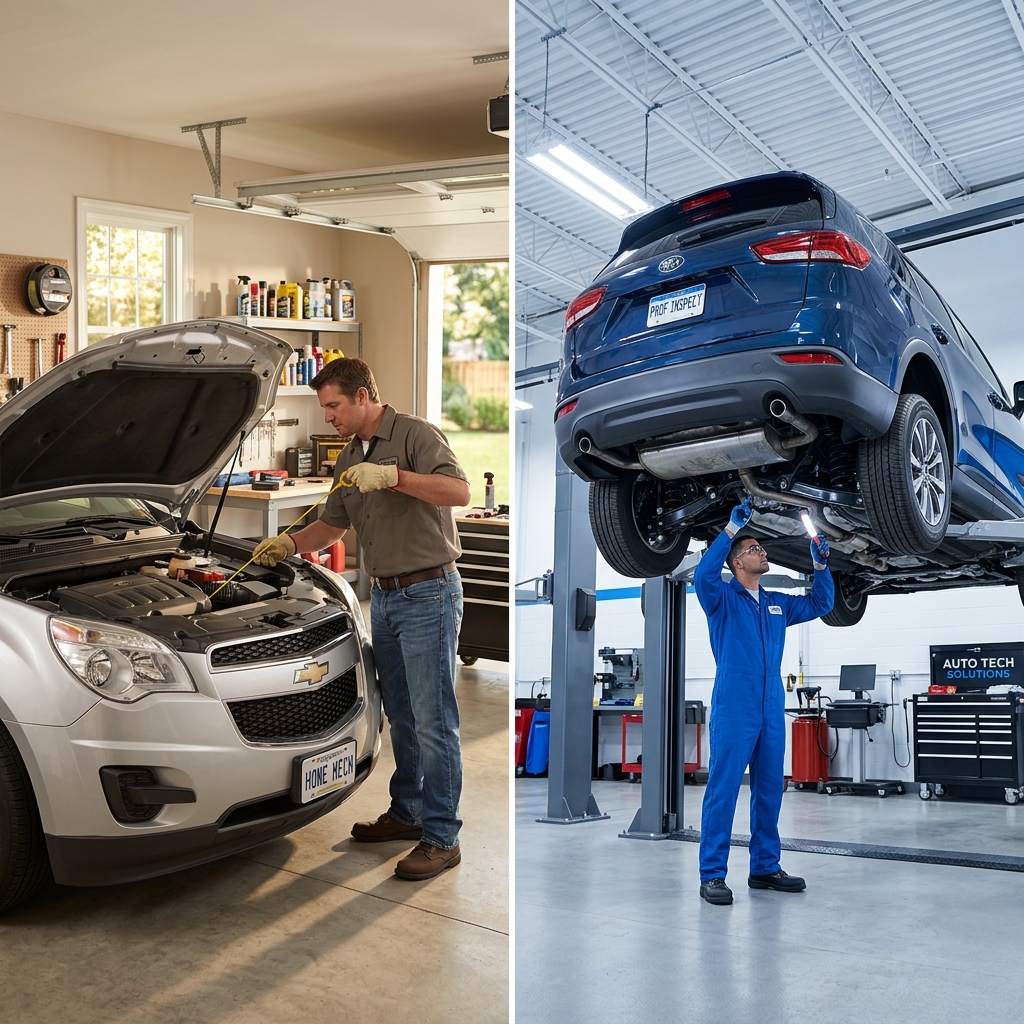
Essential Tools, Skills, and Safety Steps for DIY Pre-Trip Vehicle Inspections
Preparing your vehicle for a major highway journey out of Joliet, Illinois, requires more than just filling up the fuel tank and clearing off the windshield. Whether you are planning a late summer trip down Interstate 55 toward St. Louis or navigating heavy holiday traffic on Interstate 80 across Will County, conducting a systematic pre-trip vehicle inspection is your first line of defense against unexpected breakdowns, costly roadside tow bills, and dangerous mechanical failures. A comprehensive check allows you to spot minor component degradation—such as a hairline crack in a serpentine belt, micro-punctures in tire tread, or low fluid levels—before thermal stress and sustained high-speed driving turn those small flaws into major repair emergencies.
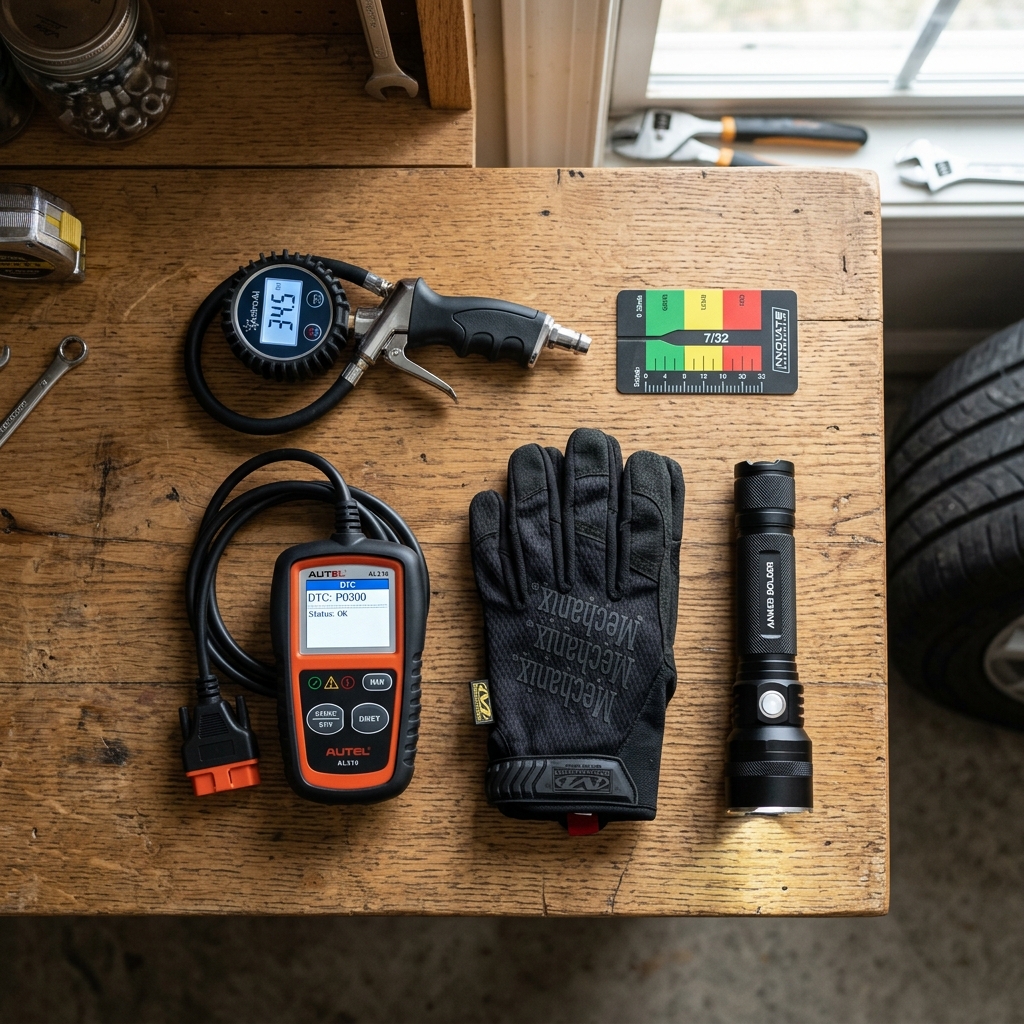
To perform an accurate and safe inspection at home, every driver should build a basic personal protective equipment (PPE) kit and diagnostic tool setup. Essential protective gear includes impact-resistant safety glasses to shield your eyes from debris or pressurized fluid splashes, heavy-duty synthetic mechanic gloves to guard against hot engine surfaces and sharp metal brackets, and closed-toe work boots. On the mechanical side, your DIY arsenal should feature a calibrated digital tire pressure gauge, a steel tread depth gauge card, an entry-level OBD-II diagnostic scanner, a high-lumen magnetic LED work light, and a click-type torque wrench. Combined with core mechanical skills like reading dipstick levels, evaluating sidewall date codes, and recognizing abnormal brake pad wear, you can confidently audit your vehicle's safety before setting out on Northern Illinois highways. If you ever hit a roadblock during your garage check, the certified technicians at Get Directions to Hawk Chevrolet of Joliet are always ready to assist.
How Far in Advance Should You Inspect Your Vehicle Before a Long Highway Trip?
Timing is everything when preparing a automobile for extensive road travel. The most common mistake Northern Illinois drivers make is popping the hood just an hour before loading up luggage and hitting the road. Inspecting your car at the last minute leaves zero margin for error; if you discover a frayed belt, a leaking radiator hose, or brake pads worn down to 2 millimeters, you face a miserable choice between canceling your travel plans or risking a catastrophic failure on the highway.
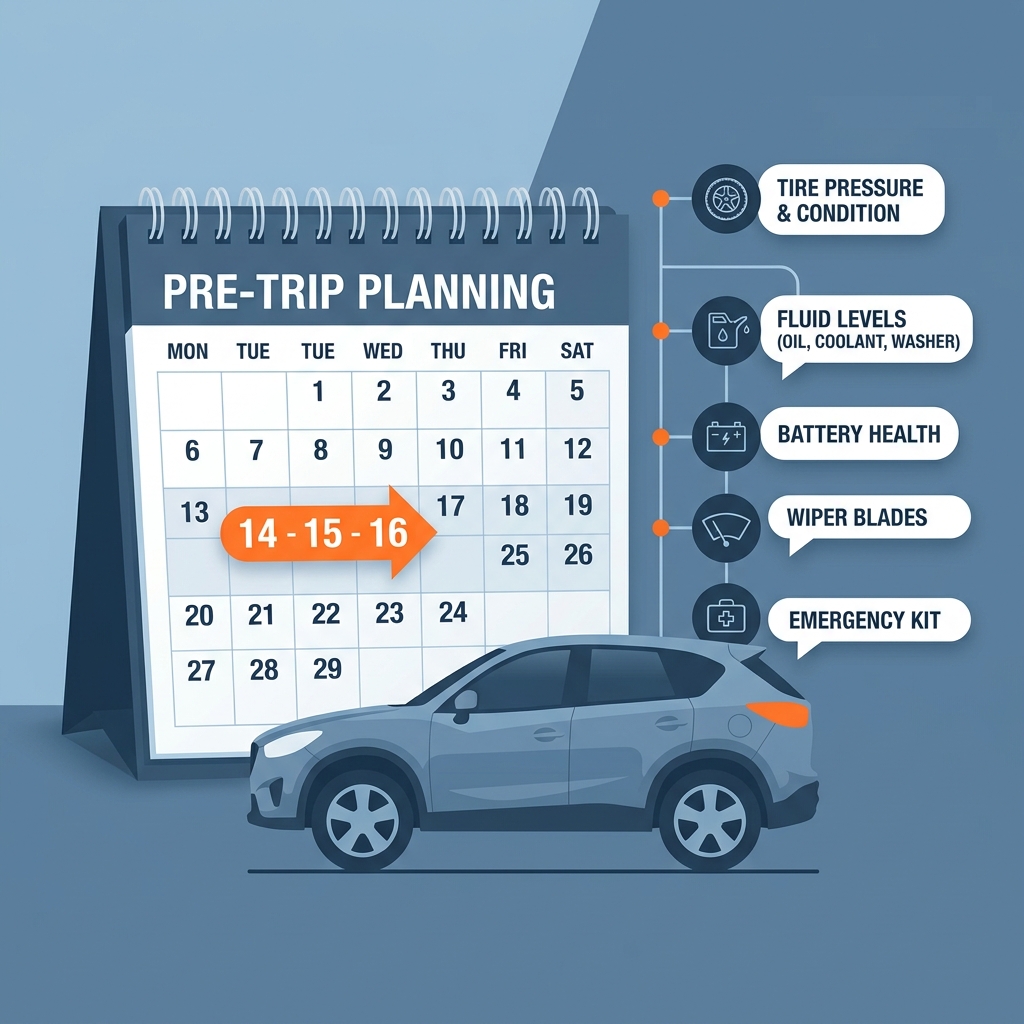
Automotive service experts recommend adhering to a two-phase inspection timeline. Phase One is your Comprehensive Major Audit, performed 10 to 14 days prior to your departure date. This 14-day cushion provides adequate lead time to source replacement OEM filters or brake components, schedule specialized service appointments if advanced repairs are required, and perform test drives to ensure all installed replacement parts seat correctly. Phase Two is your Rapid Final Check, conducted 24 hours before leaving. This quick 10-minute walkaround verifies final cold tire inflation pressures, checks washer fluid levels, confirms luggage loading weight distribution, and ensures all exterior signal lamps function properly.
Essential Safety Tools and Diagnostic Hardware Every Home Inspector Needs
Precision Gauges & Measuring Cards
Relying on pencil-style tire gauges or visual estimations can lead to dangerous pressure errors. Invest in a digital tire pressure gauge calibrated to within +/- 0.5 PSI. Pair this with a dedicated color-coded tread depth card measured in 32nds of an inch. These simple measurement tools ensure your tires maintain optimal contact patches, maximizing fuel economy and wet-weather traction along waterlogged sections of I-80 during unexpected summer downpours.
Illumination & Vehicle Stabilization
Engine bays and underbody subframes are filled with dark nooks where fluid leaks hide. A rechargeable high-lumen magnetic LED flashlight allows hands-free illumination of brake lines, axle boots, and water pumps. Never crawl partially under a vehicle without heavy rubber wheel chocks wedged firmly against the tires on the opposite side to prevent unexpected rolling while you work on elevated driveway slopes.
Digital Scanners & Electrical Testers
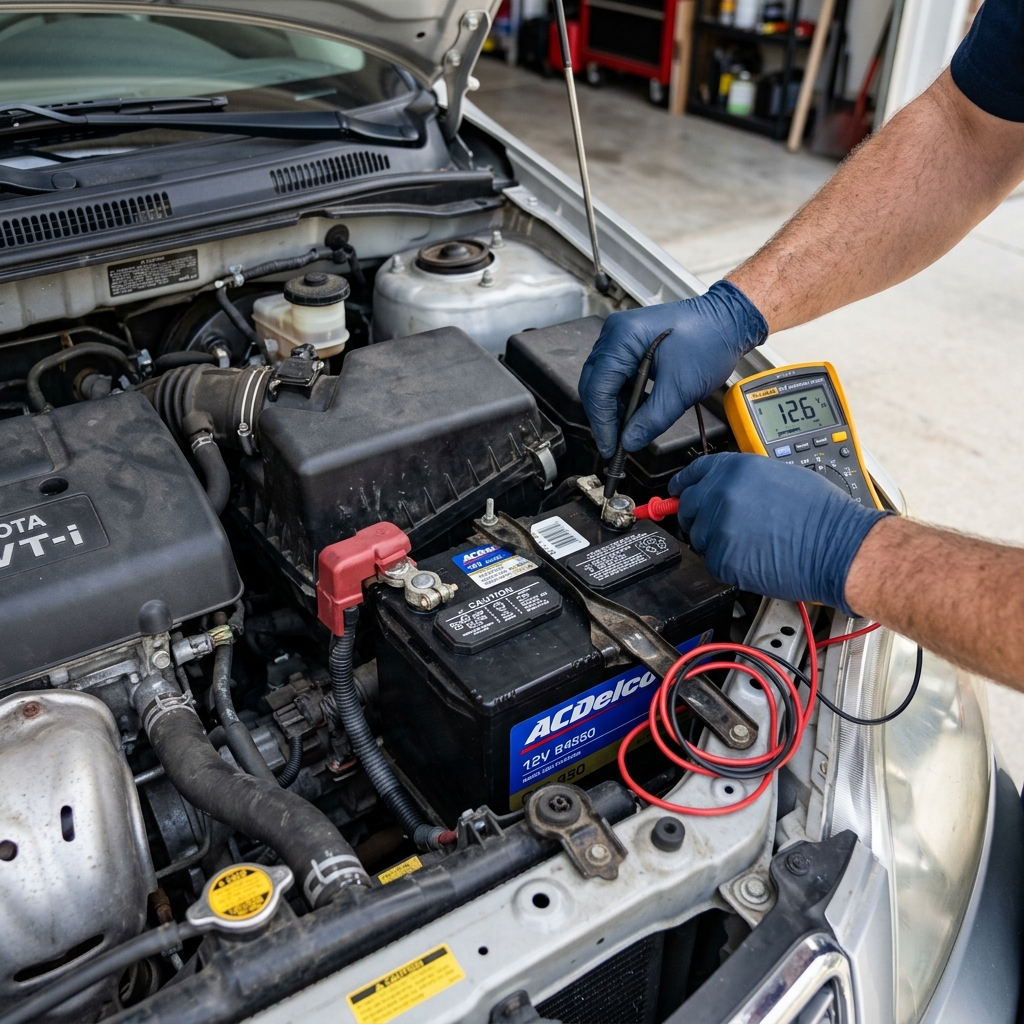
An entry-level OBD-II code reader plugs directly into the port under your dashboard, allowing you to scan for pending Diagnostic Trouble Codes (DTCs) that haven't yet triggered a dashboard check engine light. Additionally, a basic digital multimeter lets you measure battery rest voltage (should read 12.6V minimum) and alternator charging output (13.8V to 14.5V) to prevent getting stranded with a dead battery miles away from home.
What Items Are Essential in a Reliable Automotive First Aid and Emergency Kit?
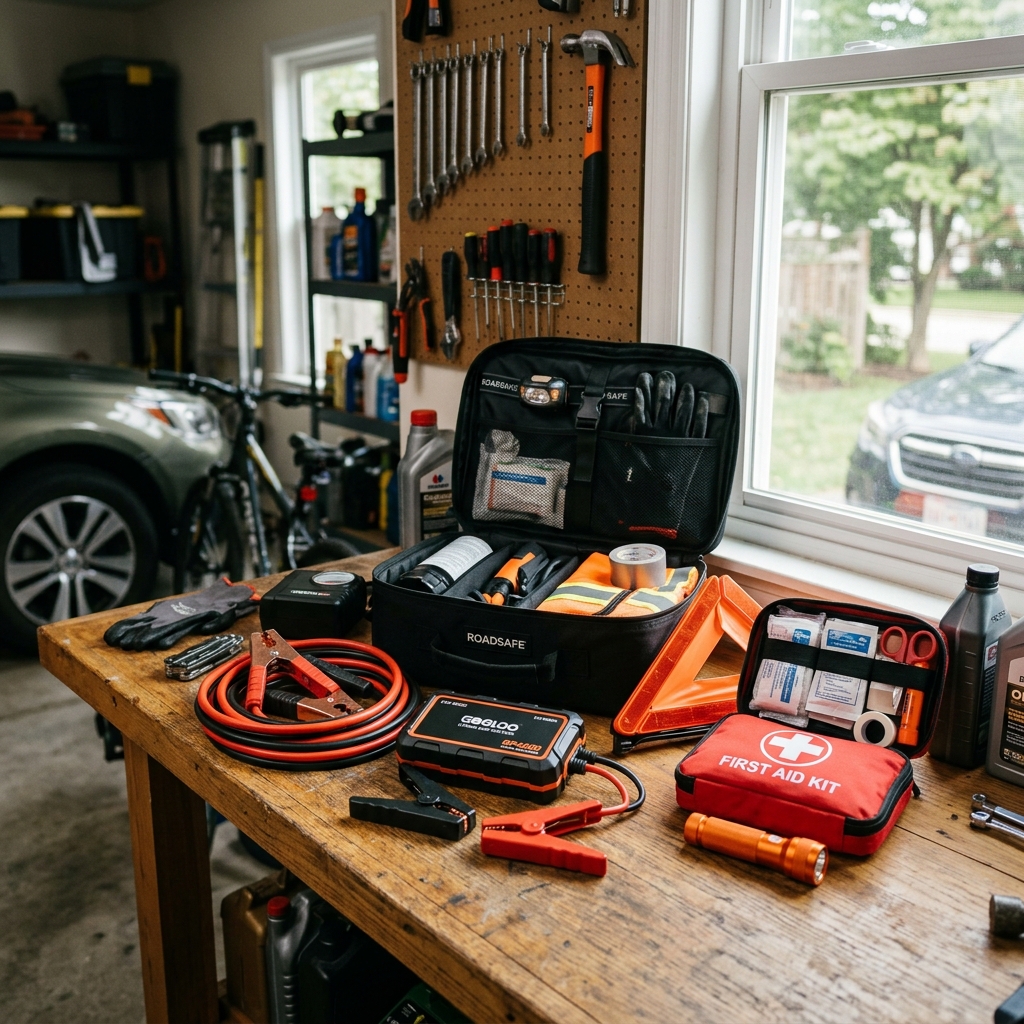
Even the most rigorously inspected vehicles can encounter unpredictable road hazards, extreme weather shifts, or tire punctures caused by road construction debris on major thoroughfares. Carrying a fully stocked automotive emergency kit ensures you can handle minor injuries and stay safe while awaiting roadside assistance. Your medical module should contain trauma shears, sterile gauze pads, medical tape, adhesive bandages in varied sizes, antiseptic wipes, burn cream, nitril gloves, and emergency thermal blankets.
Beyond basic medical care, your vehicle must carry hardware designed for visibility and vehicle reactivation. Essential roadside gear includes DOT-compliant collapsible reflective triangles, high-visibility safety vests, a heavy-duty tow strap, a multi-tool, and a compact lithium-ion jump-starter pack (which eliminates the need for a second vehicle during a battery failure). For regional travel in Northern Illinois, adding non-perishable snack bars, bottled water, and a fold-out paper highway map provides peace of mind if cellular networks drop. To stock up on factory-approved safety equipment, consider options to Order Genuine Chevrolet Parts and accessories.
Essential Vehicle Knowledge: Core Technical Skills for At-Home Inspections
Popping Hoods & Component ID
Safe inspections start with knowing how to release the primary interior latch, find the secondary safety catch under the front lip, and secure the mechanical prop rod firmly into its designated slot (or verify hood gas struts hold firm weight). Learn to identify key engine components: the air intake box, brake master cylinder reservoir, engine oil dipstick, coolant overflow tank, and main power distribution box.
Reading Dipsticks & Fluid Levels
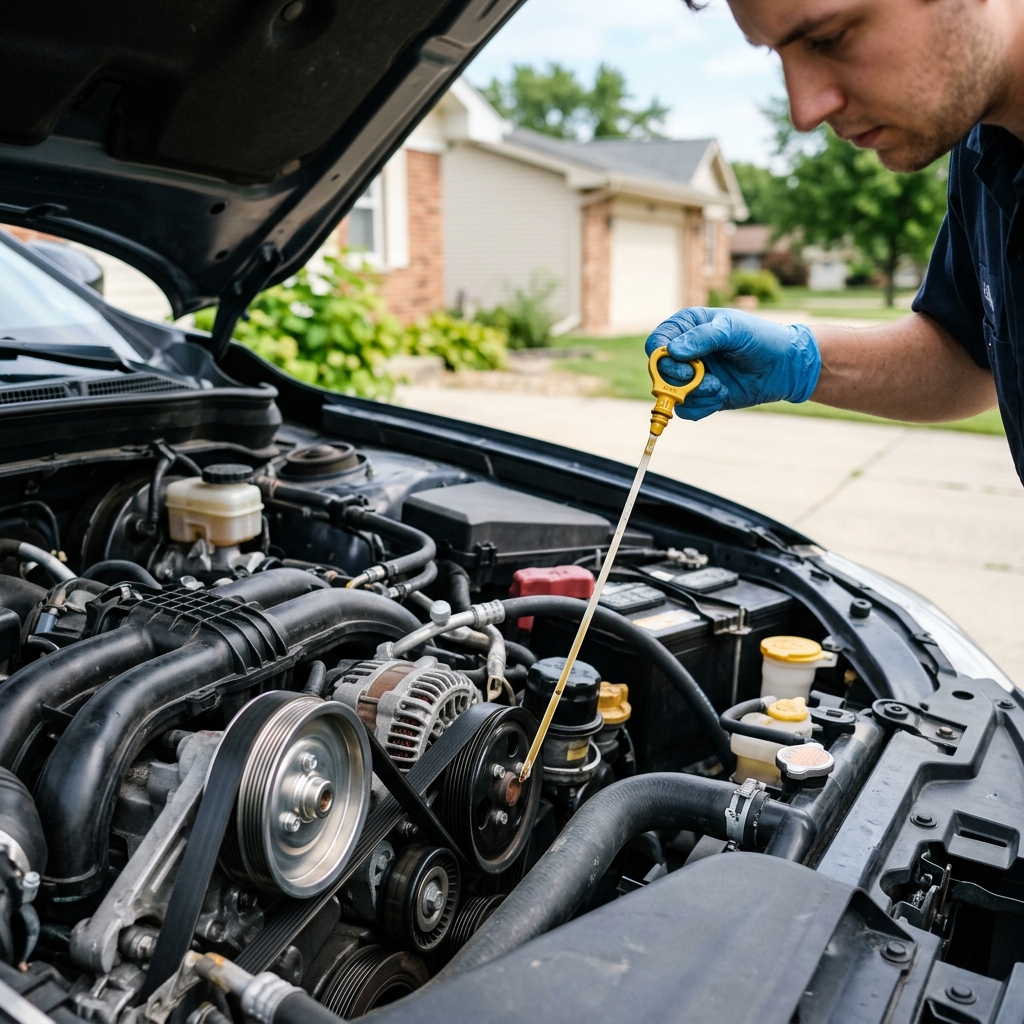
To read a dipstick accurately, park on level pavement with the engine turned off. Pull the dipstick out, wipe it clean with a lint-free rag, reinsert it completely into the tube, and pull it out a second time. The oil level must sit between the 'FULL' crosshatch marks or top indicator dot. Examine the oil texture: golden-brown fluid indicates healthy life, while gritty dark tar or milky brown fluid indicates urgent service needs.
Lighting Walkarounds & Sidewall Codes
Mastering sidewall interpretation allows you to read your tire's manufacture date code—a four-digit number stamping representing the week and year of production (e.g., '2221' means week 22 of 2021). Tires older than six years suffer rubber compound degradation. Combine this check with a two-person lighting assessment to verify low beams, high beams, hazards, turn signals, and reverse lights function without flicker.
Step-by-Step Under-the-Hood Fluid and Engine Belt Inspection Checklist
Under-hood fluids serve as the lifeblood of your powertrain, lubricating moving parts, transferring hydraulic pressure, and dissipating destructive friction heat during extended highway cruises. Start your audit with engine oil, verifying proper viscosity and level. Next, check the engine coolant overflow tank when the engine is completely cold; the fluid should match factory specifications (such as DEX-COOL orange or pink) and rest between the MIN and MAX markers. Never open a hot radiator cap under any circumstances.
Inspect brake fluid inside its translucent reservoir; it should appear clear or pale amber. Dark brown or black fluid indicates water absorption and oxidation, which lowers boiling points and causes brake pedal fade during sudden highway stops. Check power steering fluid (if applicable) and top off washer fluid with a summer formula designed to remove bug splatter. Finally, inspect rubber components: twist the serpentine belt to inspect the V-ribbed underside for cracks, missing chunks, or glazed shiny surfaces, and squeeze upper and lower radiator hoses to ensure they feel firm rather than spongy or brittle.
Tire Care and Brake Safety: Checking Inflation, Tread Depth, and Stopping Power
Tires are the only component connecting your vehicle to the asphalt, making their condition paramount to highway safety. Always check tire pressure when the vehicle has been parked for at least three hours (cold pressure reading). Never use the 'Max PSI' stamped on the tire sidewall as your daily target; instead, inflate your tires to the exact specification listed on the driver's side B-pillar door jamb placard. For every 10-degree ambient temperature shift in Northern Illinois, tire pressure changes by approximately 1 PSI. Underinflated tires generate excessive internal friction heat at 70 MPH, significantly increasing the risk of tread separation or high-speed blowouts.
In addition to inflation, measure tread depth across three grooves (outer edge, center, inner edge). While legal limits allow tread down to 2/32 of an inch, wet traction declines sharply once tread drops below 4/32 of an inch. Uneven wear patterns—such as cupping or shoulder wear—point directly to alignment errors or worn shocks. While inspecting wheels, peer through the rim spokes with a flashlight to evaluate brake pad friction lining thickness. Pads measuring 3mm or less require immediate replacement before embarking on major highway trips.
|
Inspection Element
|
Optimal Safety Standard
|
Warning / Caution Level
|
Immediate Service Required
|
|
Tire Tread Depth
|
6/32 in. or greater
|
4/32 in. to 3/32 in.
|
2/32 in. or below
|
|
Cold Tire Inflation
|
Matches Door Placard PSI
|
+/- 3 to 5 PSI deviation
|
> 6 PSI under or overinflated
|
|
Brake Pad Thickness
|
7mm to 12mm
|
4mm to 5mm
|
3mm or thinner
|
|
Brake Rotor Surface
|
Smooth, no grooves
|
Minor surface discoloration
|
Deep scoring, high vibration
|
Battery Health and Electrical System Checks for Northern Illinois Highway Drivers
Summer heat is the silent killer of automotive batteries. High engine bay temperatures accelerate internal grid corrosion and evaporate battery electrolyte fluid, weakening battery plates long before winter cold reveals the damage. Inspect battery terminals for powdery white or blue crust buildup (lead sulfate oxidation). Clean post connections using a stiff wire brush and baking soda solution, then tighten cable clamps to eliminate resistance.
Verify your wiper blade performance by spraying washer fluid and checking for streaking, chatter, or torn squeegee rubber. Highway driving in heavy traffic around Plainfield or Naperville requires crystal-clear visibility. Test windshield washer jets to ensure proper aiming across the glass. Finally, audit all interior cabin controls, horn operation, power windows, and air conditioning cooling performance to keep passengers comfortable during long drives. If you prefer to upgrade to a newer vehicle with factory-fresh electrical systems before your next trip, take a moment to Browse New Inventory models available in Joliet.
What Is the Recommended Sequence for a Comprehensive Pre-Trip Inspection Checklist?
Stage 1 & 2: Exterior & Tires
Begin with a 360-degree exterior walkaround. Check glass for stone chips, test wiper arm tension, and confirm headlight lenses are clear. Move to Stage 2 by auditing all four wheels plus the spare tire. Measure cold inflation pressures, check tread depth across all grooves, torque lug nuts to factory specs, and inspect inner wheel wells for signs of leaking shock absorber fluid.
Stage 3 & 4: Engine & Cabin
Pop the hood for Stage 3: check oil, coolant, brake fluid, power steering fluid, and washer fluid. Inspect air filter element cleanliness, test belt tension, and examine battery posts. Transition to Stage 4 inside the cabin: adjust mirrors, test seatbelts, audit HVAC blower speeds, scan dashboard instrument clusters for warning lights, and verify emergency kit placement.
Stage 5: Diagnostic Test Drive
Conclude your workflow with a 15-minute diagnostic road test over varied road speeds. Listen for wheel bearing hum, feel for brake pedal pulsation or steering wheel wobble under braking, test cruise control engagement, and confirm transmission shifting feels smooth. A successful road test completes your pre-trip audit with total confidence.
Which Inspection Tasks Can You Do at Home vs. What Needs Professional Service?
Knowing your mechanical limits is crucial for personal safety and vehicle reliability. Home garage inspections are ideal for accessible maintenance items: checking and topping off fluid reservoirs, replacing cabin and engine air filters, verifying bulb operation, measuring tire pressures, and inspecting wiper blades. These straightforward visual tasks require minimal hand tools and pose virtually no safety hazards when performed on level ground.
Conversely, complex mechanical systems demand specialized shop equipment, calibrated diagnostic software, and certified technician training. Tasks like computerized 4-wheel alignment adjustments, hydraulic brake fluid flushing, transmission valve body diagnostics, press-fit wheel bearing replacement, and suspension bushing inspection must be handled in a professional shop. If your DIY check reveals uneven tire wear, spongy pedal feel, or unresolved check engine codes, Call us at (815) 472-8001 to schedule a professional evaluation.
Labor Day Highway Travel Prep: Complete Vehicle Inspection Checklist for Northern Illinois Drivers
Labor Day weekend represents one of the heaviest highway travel periods of the entire year across Northern Illinois. Driving during late August and early September presents a unique mix of road challenges: high ambient heat spikes, extended stop-and-go congestion on I-80 and I-55 construction corridors, and fully loaded cargo beds or passenger compartments. Heat combined with heavy payloads stresses every powertrain component—raising transmission oil temperatures, taxing engine cooling fans, and increasing brake load on steep expressway off-ramps.
Before launching your Labor Day road trip, perform a specialized holiday checklist: verify your air conditioning system holds steady vent temperatures under idle conditions, inspect cooling fan clutch engagement, check rear tire pressures under full cargo load, and inspect trailer hitch wiring harnesses if towing boats or camper trailers. If your holiday travel plans inspire a vehicle upgrade, explore our high-quality pre-owned models and Browse Used Inventory options prior to setting out.
Genuine OEM Parts and Maintenance Accessories for DIY Pre-Trip Preparation
When replacing worn maintenance components during pre-trip service, utilizing factory-approved OEM (Original Equipment Manufacturer) fluids and parts is essential. Universal aftermarket parts often rely on generic materials and imprecise fit tolerances that can jeopardize performance. OEM components—such as ACDelco engine air filters, GM Genuine oil filters, precise Dexron transmission fluids, and factory wiper assemblies—are engineered to exact manufacturer tolerances.
Installing genuine OEM parts protects your vehicle's factory warranty and ensures optimal longevity under severe driving conditions. The parts counter at Hawk Chevrolet of Joliet maintains a robust inventory of genuine Chevrolet fluids, filters, brake pads, and batteries. Our knowledgeable parts specialists can match your exact VIN to guarantee flawless component fitment. If you are planning a vehicle trade-in before your major trip, you can easily Value Your Trade online today.
Schedule Your Pre-Trip Multi-Point Inspection at Hawk Chevrolet of Joliet
Whether you are a seasoned garage mechanic or prefer leaving mechanical checks to certified professionals, taking the time to thoroughly inspect your vehicle before major highway travel is the smartest choice you can make for your family's safety. At Hawk Chevrolet of Joliet, our GM Certified Service Center provides comprehensive Multi-Point Vehicle Inspections using state-of-the-art diagnostic equipment. Our factory-trained technicians inspect brake systems, suspension linkages, battery health, fluid integrity, and tire safety to ensure your vehicle is 100% highway ready.
Don't leave your holiday highway travel to chance. Visit us at 2001 W Jefferson St, Joliet, IL 60435 or contact our friendly service team directly. You can quickly Schedule Your Service Today online or speak with an expert mechanic by calling Call us at (815) 472-8001. Let Hawk Chevrolet of Joliet help you hit the road with complete confidence!